
Behind the Scenes: Improving Onboarding
We recently refreshed the Shoutbase onboarding flow. To understand why, let’s walk through what happened before when a new user signed up.
How It Worked Before
Previously when you signed up, it was very sparse.
The homepage had a “Get Started Now” button.

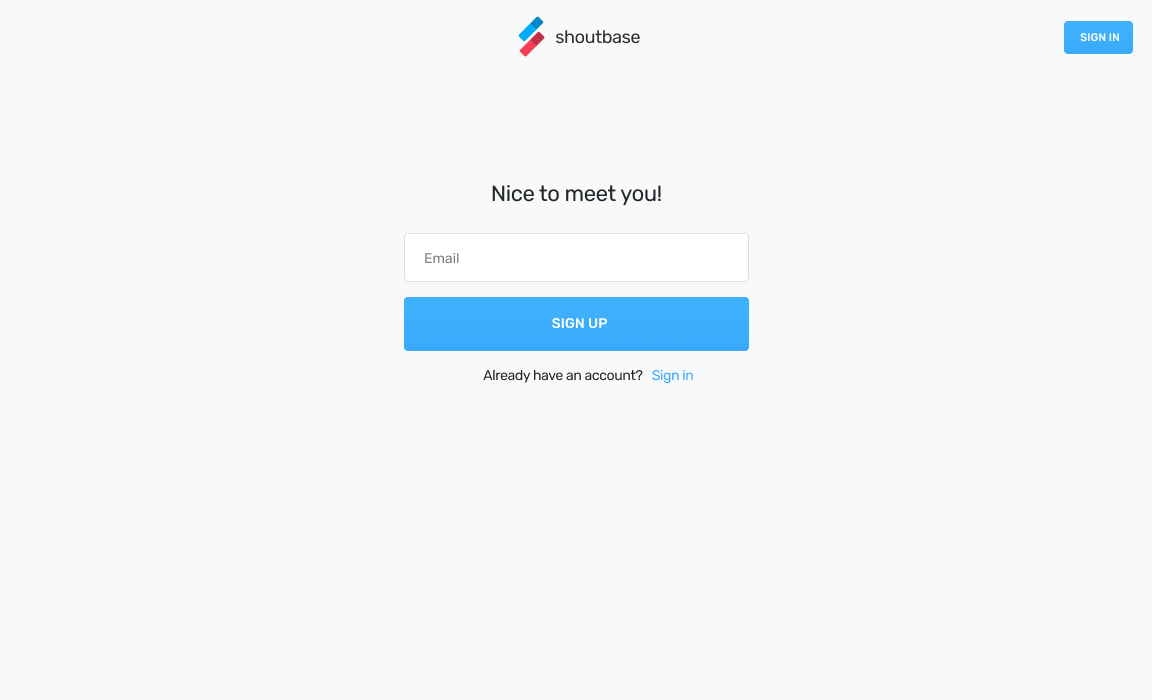
When you clicked the “Get Started Now” button, you were taken to the sign up screen.

After submitting that form, you immediately jumped to the Personal Dashboard, with no further explanation.

And, that was it!
What Are The Issues?
Let’s dig in and see what could be improved!
Zero explanation of how to use the app
Once you finish signing up, you are greeted with a sparse empty state and are left to figure the rest out on your own.
No prompt to invite a team to participate
You are not given the opportunity to invite your team to participate when you sign up. You can still do this later, but you have to find it for yourself.
Email verification isn’t required
There are arguments to be made to allow a user to “kick the tires,” so to speak, without requiring email verification first. But before the app sends invites to other team members, or sends reminders and report emails, it’s important to verify a user’s email is correct, to keep our email deliverability rate high and not send spammy email to users who didn’t opt in to it.
How We’ve Redesigned It
Our redesign was initially at the functional wireframe level. We built the functionality with that fidelity of design, and then went back and made a second pass to polish and stylize the UI.
Enter only your email address to get started

This reduces the steps before getting a user’s email into our system to the minimum.
Before:
- Arrive on homepage
- Click sign up (this navigates to the sign up form)
- Type first name
- Switch fields (tab or click)
- Type last name
- Switch fields
- Type email address
- Switch fields
- Type a password
- Click submit (sends user info to the server)
After
- Arrive on homepage
- Enter email address
- Click submit sends user info to the server
Seems like a small thing, but any reduction of unnecessary steps makes software more pleasant to use. In terms of the steps we ask of the user before submitting the first form, this change cuts down a lot.
Receive verification email and enter a six digit code


We’re moving to requiring email verification using a six digit code, which allows the user to continue the sign up process in the same browser window they started in. This is optional—the user can still click a link in the email to confirm instead of entering a code.
But the six digit code feels like a cleaner, more continuous flow. In some apps, the flow is: go check your email, and there’s nothing else to do on this page except close it. To continue, you must click the email link and open a new tab.
Instead, now there is another form to paste the code, with the six blank digits. It’s like “here’s the next step!” vs. “nothing else to do here,” which makes for a more seamless user experience.
Enter a password and optional full name

Now that we have a verified email, we ask the user for the full name they want to use and a password. We reduced the name fields from two to one because exactly correct given and family names is not important for our system, and it reduces steps.
Passwords used to not have any kind of validation — a one character password would suffice. Since that is inherently insecure, we are updating that. For now, all new passwords will be required to be at least eight characters. We plan to revisit this in the future to continue to encourage secure password practices.
Enter a company name and invite your team


In the past, this step wasn’t part of the sign up flow at all. To create and invite a team, you had to dig through the interface to find it, and it wasn’t as obvious as we would like.
Now, new users will be given the opportunity to invite their team right away.
Create your first tags

Tags are how time is organized in Shoutbase. Rather than dropping you off into the app with no tags, we now encourage you to create a few as you’re getting started.
This way, when you create your first time entry, you’ll be greeted with some familiar names of the projects or categories you care about.
A four page set of tutorial videos, broken out by topic

Once we’ve collected all the info you care to give us, we’d like to show you how to use Shoutbase: how to create time entries, what it looks like when populated with data, how to get reports, how to use the desktop app, and how to invite and manage a team.
Prior to this, Shoutbase had zero user-facing tutorials or documentation, so this is a huge step up.

When you’re finished with onboarding, we’ll let you know where to go to find help again later, as well as how to download the desktop app if you’re a Mac user.
We think these changes are a big step forward for our onboarding flow.
What did we miss?
Please let us know by tweeting to @shoutbase on Twitter.
Scott Becker
Co-founder of Shoutbase and Olio Apps.
LinkedIn: @scottbecker
Twitter: @sbecker
Thanks for reading!
If you would like to learn more about Shoutbase, please follow us on Twitter, Instagram, Facebook, LinkedIn, or Medium!